Custom Faux Wood Kitchen Cabinets
I can not believe I waited this long to execute this project! I love change so I went from white to black and for the past year wanted wood! I was nervous I wouldn’t be able to get a good result and was honestly pressuring my husband to just redo the kitchen [lol] but I did some research and with experience in “like wood paint”, figured I would try this before spending thousands! This is the first time I used this Retique It brand and I would recommend it any day!! *Note: I painted right over other paint.

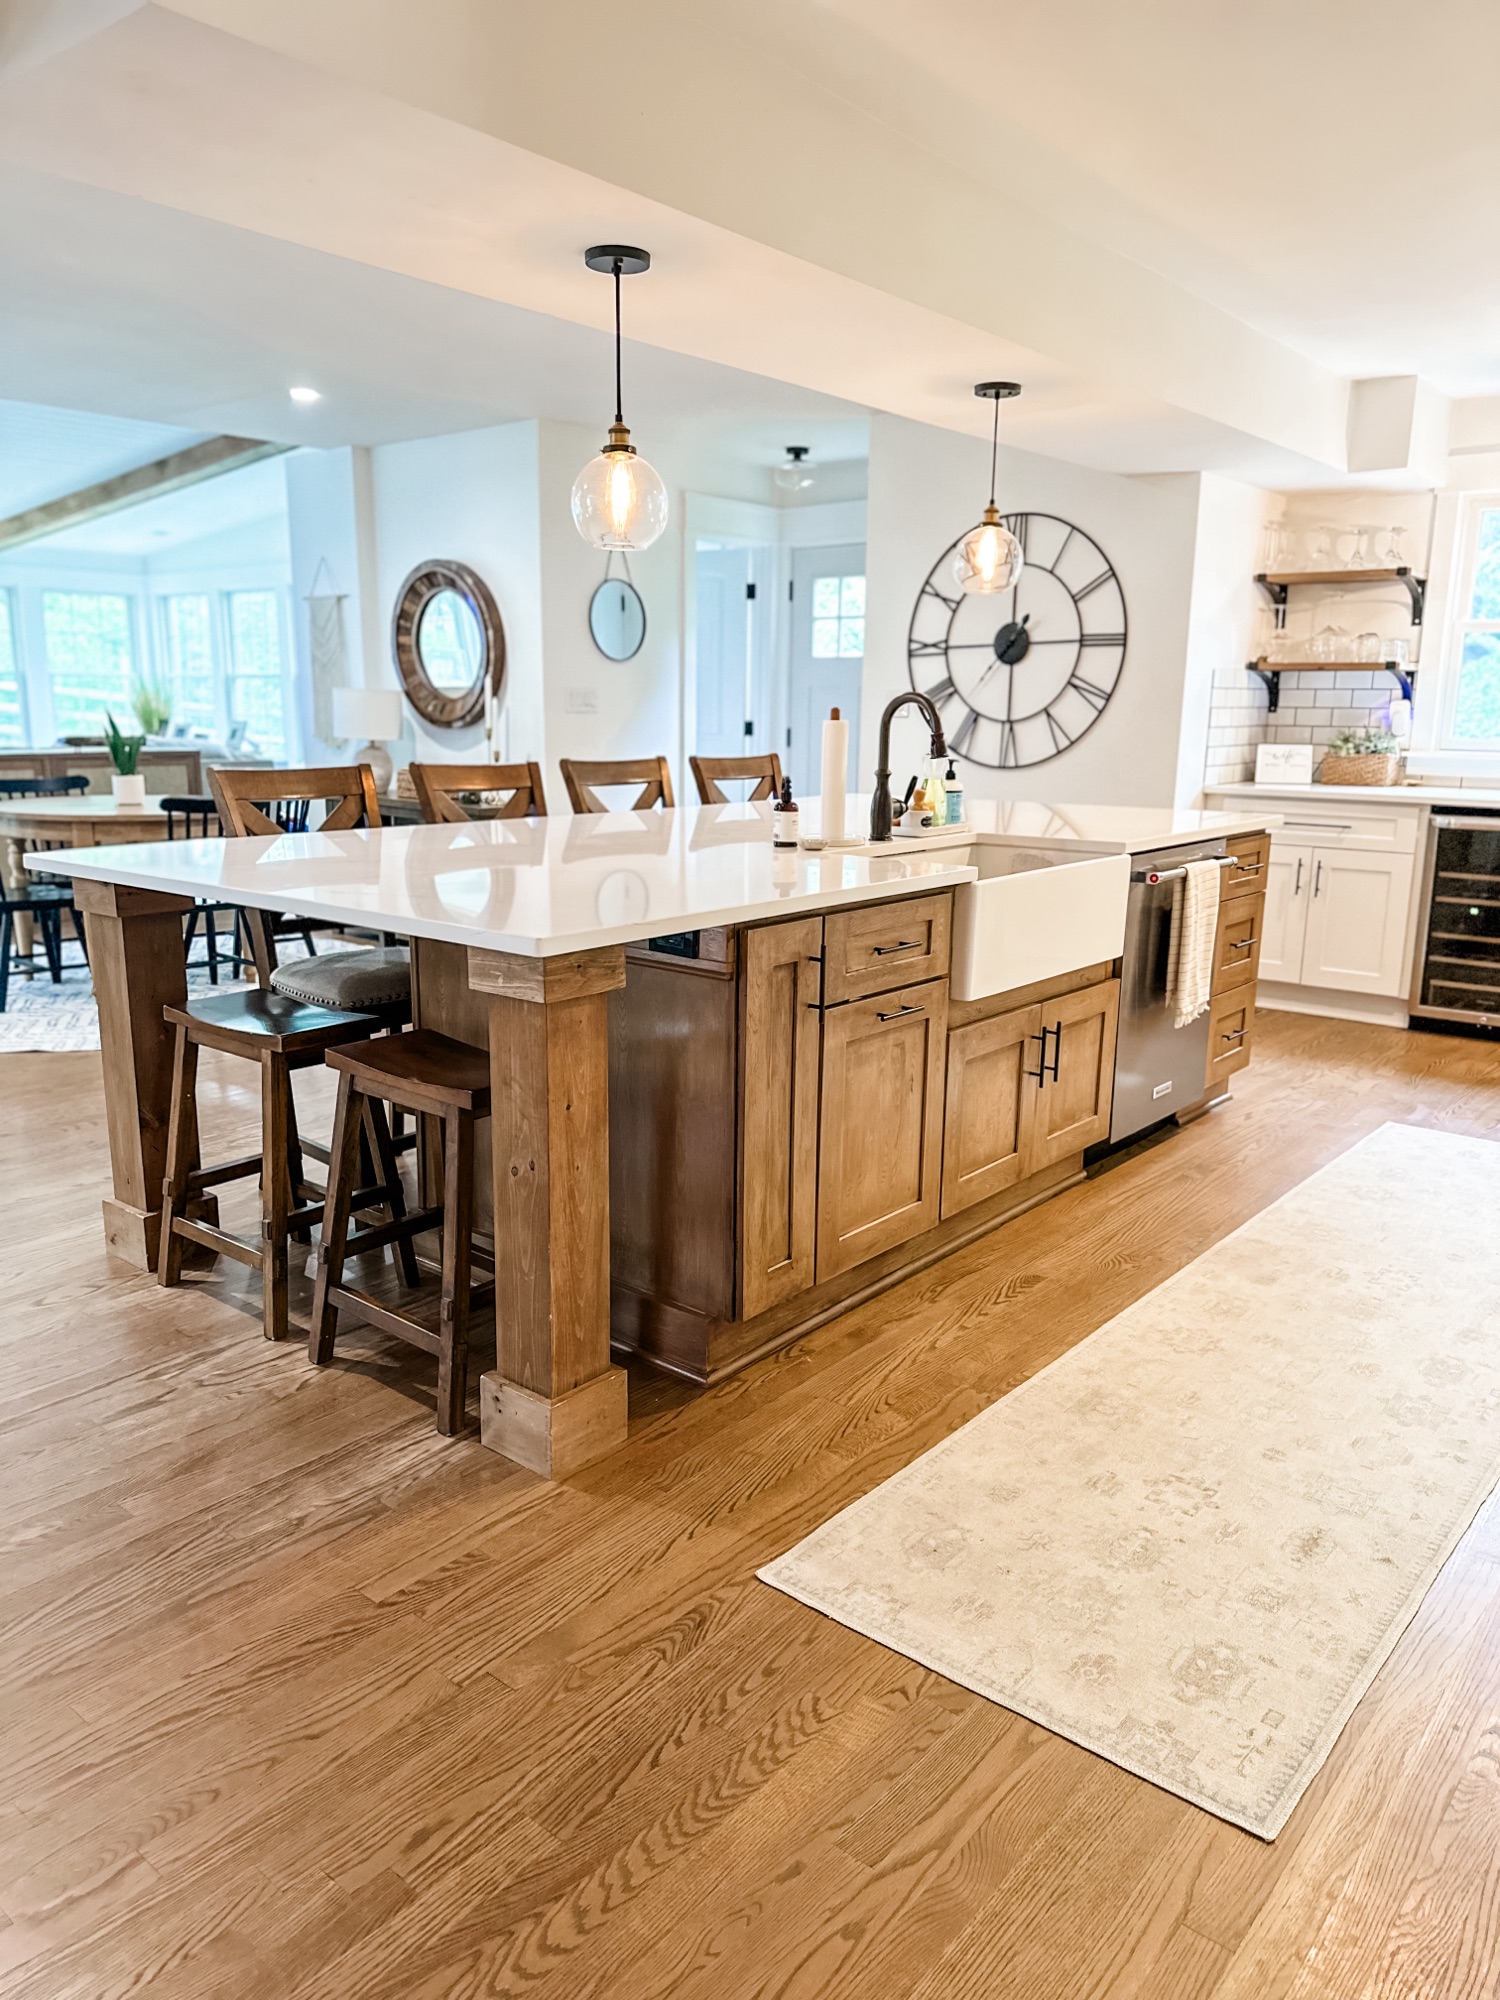
Now, I messed up and ordered the wrong color; not sure what I was thinking…but had I bought the barnwood, I probably would’ve been done with just the 2 steps. I bought pickled oak [pictured above] and therefore decided to experiment with adding my holy grail of stain color to the kit, as a last step. I linked the items below that I used in addition to the above Retique It Kit.
Minwax Special Walnut Stain, Rags [but old t-shirts work just as well, as long as there’s no fuzzies] and the water based Polycrylic. I prefer the water based [I used it on my floors as well] because the smell is mild, it doesn’t yellow over time and I like the satin [matte] finish. There are also gloss options.


The kit is super simple to use but here are directions, easily explained. Always wipe down your surface, clean. I did not sand but you can lightly if you feel you want better adhesion. I painted all cabinets with the base coat and once dry, painted them with a coat of the stain. Using the rubber wood grain tool, I tilted up and as I glided it down or across, I slowly rounded it back toward myself. You can’t really mess this up bc if you don’t like it the first time, you can literally just redrag it over what you did until you get the hang of it. I did this several times to get the shaker style trim of the cabinets to match up, etc.
CLICK HERE FOR A VIDEO ON CREATED THE WOOD GRAIN TEXTURE AND STAINING
I let that dry and then I took the rag and my Minwax stain in Special Walnut and stained away. This is probably one of my most favorite things to do. I find it so therapeutic and satisfying. I actually hate painting! I went with the grain of the wood, as always and rubbed back and forth or up and down to get an even coverage. I took another rag and wiped off any excess. The wood kit is unique because it is actually made up of wood fibers; so it’s completely stainable and takes the same as a raw piece of wood…would! I let this dry and went around the whole thing with my water-based Polycrylic because it’s the kitchen and I wanted to make sure it had protection. I did this on my exposed kitchen shelves too.


I can not believe how good they came out and everyone that sees them, is in awe! I spent about $100, using the 8oz kit! I really stretched it out but I made it work! i actually bought the kit again, but in the Barnwood this time, to do the inside of my front door and sidelights! Stay tuned for that!


I hope you love it as much as I do and found this helpful!! Comment with any questions!
Don’t forget to subscribe [on the right side of this page] so you never miss a post!
As always, thanks for being here!


