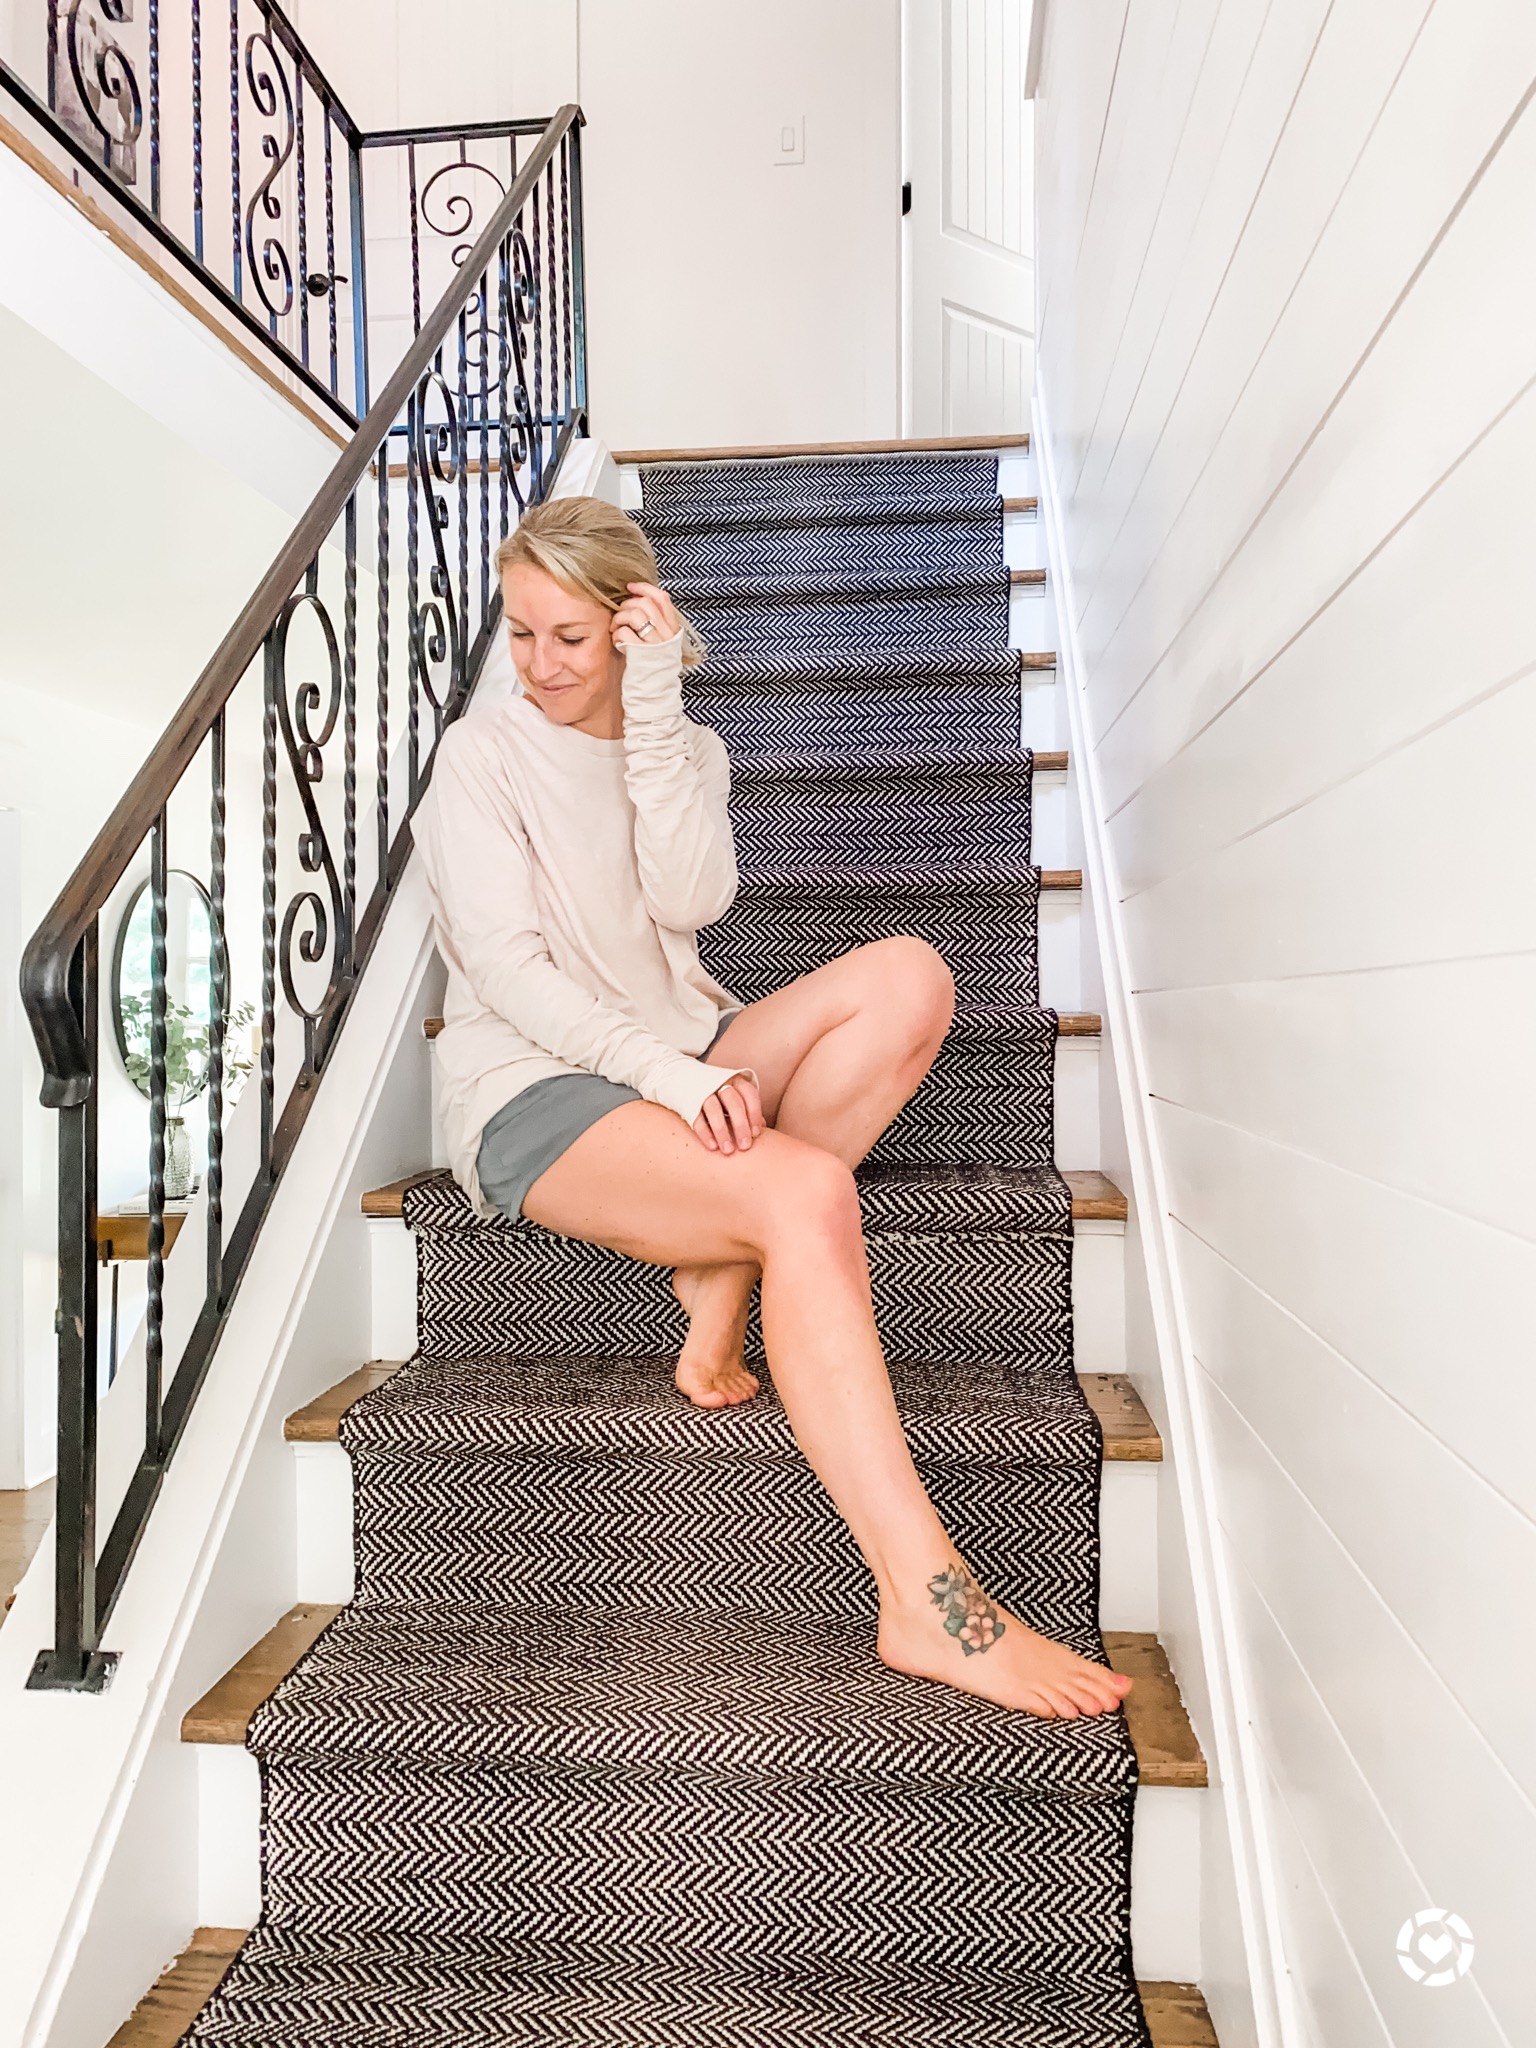
Installing a DIY Stair Runner
Updated: Jan 1


The time spent mentally preparing myself to install this runner took longer than installing the runner. I can’t express enough, how truly simple this was! I did my research beforehand, which certainly helped and hopefully this post can save you that much and lay it all out there for ya! I used a Dash and Albert rug, by Annie Selke and I can’t say enough great things!
What you’ll need…
- I hope this is an obvious one, but measure your space two
- or three times and order more than you need, by at least a few feet! My runner came in 2’6″x8 or 2’6″x12′ and I used 1 entire 12′ and then probably another 4 or 5′ of the second runner. Don’t worry, I’ll go over how to combine two together.
- Make sure you have rug pads for each tread. My stairs were finished hardwood so we didn’t have anything. I actually found a 2×8′ runner pad with a rubber backing on amazon. I loved this for multiple reasons; I didn’t have to adhere anything to the hardwood because the rubber keeps it in place, it was so easy to cut through to make the individual tread pads and it was only $25!
- Tape measure, staple gun, crown staples and a flat tool. [A spackle knife or wallpaper smoother will work; I used my wallpaper smoother]
- Pliers , to remove any staples that may go in wonky.

How you do it…
- Center rug pads on steps, all the way down and double check it with tape measure, on the sides.
- Lay the runner out to get an idea of placement and have all of your materials ready to go.
- I lined up the binding of the runner [because I wanted it to show] with the top of my step’s kick plate. I angled the staple gun upward and shot staples into the top corners of the rug, on the kick plate, to hold it in place. Afterwards, I used my fingers to keep the rug even and stapled it along the top, 2-3 more times.
- Use the flat tool to tuck the runner into the back bottom crease, taut, and staple as close to the crease as possible.] I turned my staple gun sideways to get it as close to the tread as I could. Again, I avoided stapling into the tread. Do this on the 2 ends and then fill in the middle with as many staples as you need. I used about 4 across every pass.
- Using my hands, I kept the runner aligned on the bullnose of the tread [because my pattern required that] and then holding it taut again, stapled underneath, repeating the above steps.
Watch the below video to see how I did it…
What to do if you run out of…runner…
- Using scissors, cut across the runner, leaving enough rug to cover the last kick plate on your bottom step. [Better to leave even more; you can always trim it further]
- Fold over the start of the new rug, aligning it and layering it over the cut edge of the first rug. Staple the same way as you’ve been. You may need to use extra pressure to get through the multiple layers, depending on how thick your rug is. [I didn’t love how this was looking with my pattern, so I actually just stapled the raw cut edge on top of the new piece.] It blended in enough and I chose a height that no adult would really see if they were standing near the steps.
- When you get to your last step, you’re going to cut the runner again, and bring back that last bit from the first, that you saved. Attach it the same way you did above. Then, making sure it’s straight and taut, staple in the bottom along the base trim. We had quarter round lining every step, which is why I kept the binding. It just fit nicely into the recession of the trim. If you don’t have this, you may want to pop off your trim and put the runner behind it! It all depends on the look you’re going for!

That’s it! It took me less than an hour and I did it while all 3 kids were playing upstairs. I may go back in and staple some more, as the cotton stretches a little with the constant pull and I also went VERY light on the initial staples.
Helpful Tips…
- Keep the rug pads evenly sized and the front edges straight. I would keep them almost as deep [within an inch] as the stair tread. If it’s a 10″ tread, cut them 9-10″
- The rug pads shouldn’t be as wide as the runner; you want the runner to lay flat at the edges.
- I used an electric staple gun. Less man power needed.
- Take your time and make sure you’re pulling as tight as you can, keeping the pattern even, if it applies to your rug.
- Use a rug tape or adhesive to help hold it in place, if you don’t care about your steps’ surface.


I am so happy I finally dove in and completed this project. It has brought warmth and dimension to our home and the whole family, especially the dogs, is enjoying the transformation. Thanks for reading and as always, comment with any questions!
XO
Kel
Follow me on your favorite app!


